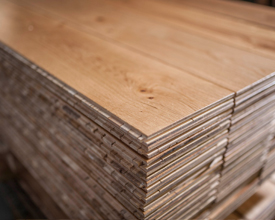
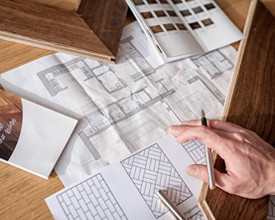
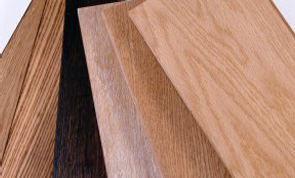
There are a number of ways that a plank wood floor can be fitted. Which of these are suitable will depend on both the product chosen and the subfloor to which it is being fitted. See our Flooring Selector for guidance on which method we recommend for our wood floors.
Floating a plank floor
Floating a wood floor means laying the planks over the subfloor and fixing them to one another rather than to the sub-floor beneath. This method is only suitable for our engineered wood floors (Strata and Quintessential boards) that are to be installed over a structural subfloor.
A floated wood floor must be fitted over a suitable underlay. Unless you need a sound reducing solution, or have electric underfloor heating, we recommend using a fibreboard underlay which does not compress over time and offers excellent support to the joints between the planks.
To fix the wood floor, fit the acclimatised boards together over the underlay, gluing the tongue & groove joints with our Lecol PVA adhesive and knocking the boards together using a rubber mallet and an offcut of the flooring to protect the tongues. Follow the manufacturer’s instructions for the application of the adhesive.
Glue Fixing a plank floor
Glue fixing a wood floor means applying suitable adhesive to the surface of the subfloor and then fixing the flooring to this. We using recommend Broadleaf Ultra Professional Wood Floor Adhesive which is solvent free and specially designed to deliver optimum performance with our wood flooring.
Read and understand the adhesive instructions before you start.
Making sure that the groove side of the board is facing the wall, select, cut and fit together the first 3 rows before applying any glue to the sub-floor. Use a rubber mallet with an offcut of the flooring as a knocking block to protect the tongues as you knock the boards together.
Apply the adhesive to the sub-floor as per the instructions using the recommended comb size to ensure that correct amount is applied. Never apply adhesive to the boards. Fit these rows, making sure that you leave the required expansion gap between the first row and the wall. Leave them to bond before continuing to fit the rest of the room. If you get any adhesive on the top face of the boards, wipe it off immediately. Dried adhesive can be chipped/sanded from the surface of unfinished boards, but removing it is likely to damage the surface of pre-sealed ones.
Secret Nailing a plank floor
As the name suggests, this method of nail fixing a wood floor is not visible once the floor is installed, making it the most popular nail fixing method. Nails are driven at an angle through the tongue of one board and covered by the next.
Do this with a Portanailer gun that clamps boards together at the right tension and protects the tongue from damage as it nails. These are available from Broadleaf showrooms and good tool hire stores. If you are fixing planks to a timber subfloor which is less than 25mm thick, and has services or concrete beneath, you will need to use 38mm portanails to avoid exceeding the depth of the subfloor and possibly damaging pipes or wires. Otherwise use standard 50mm portanails.
When utilising this installation method, fit the acclimatised boards together and nail at every joist/batten or every 400mm. Use a rubber mallet with an offcut of the flooring as a knocking block to protect the tongues as you knock the boards together.
One minor issue with this plank fixing method: you will not be able to secret nail the first and last board(s) as the wall will block the Portanailer. Face-fix these rows (see below) using screws and plugs at every joist/batten or every 400mm. On the first and last row do this at the edge of the board nearest the wall. Plug any fixings that are not covered by skirting/beading with timber plugs set to run with the grain of the board for minimum visibility.
Face Fixing a plank floor
This method of nail fixing a wood floor involves fixing boards through the face and covering the fixings with discreet timber plugs. It is not suitable for pre-finished wood floors.
To face-fix a wood floor, drill pilot holes through the face of the boards approx 25mm from each edge, over every other joist/batten or approx every 800mm. Offset adjacent rows so that adjacent boards do not have adjacent fixings. Countersink screws into the holes and then cover with timber plugs. Fix these using wood glue and bang in firmly with a hammer. Set the grain of the plugs to run with the grain of the board for minimum visibility and cut flush using a sharp chisel.


